LeadCenter.AI Lead Management Software is built with standard fields for each lead. If you would like to add more information about the lead, you can create custom fields that can be filled manually by an Agent. While LeadCenter.AI comes with standard fields, like name, phone number, and email address, you will probably want to add more of these as well as your own specialized fields. Common examples of custom fields include industry/vertical, company size, and referral information, but the exact use cases depend on what you are trying to accomplish.
The Custom Field Designer can be used to:
- Design the page that users will use to enter new data.
- Add and customize the custom fields.
Designing the Custom Fields Page
To design a user-friendly custom page, you can:
- Group common fields together in a Custom Field Group
- Change each group name
- Add rows under each group
- Add columns to each group
- Add custom fields to rows and columns
Creating Custom Field
To create new custom fields or update existing custom fields, follow the steps below:
- On the LeadCenter.AI, go to Setup > Lead Management > Custom Fields
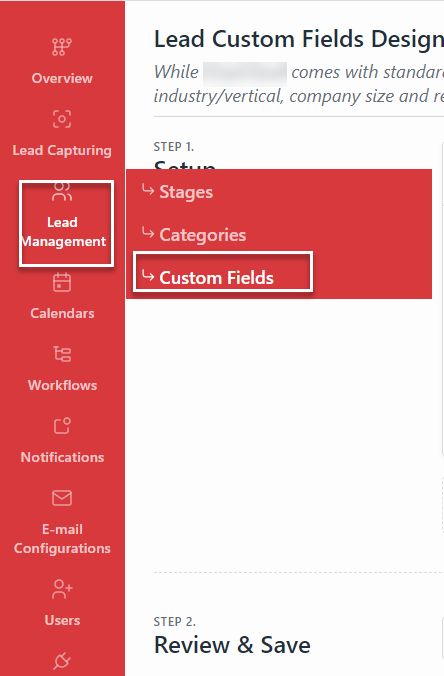
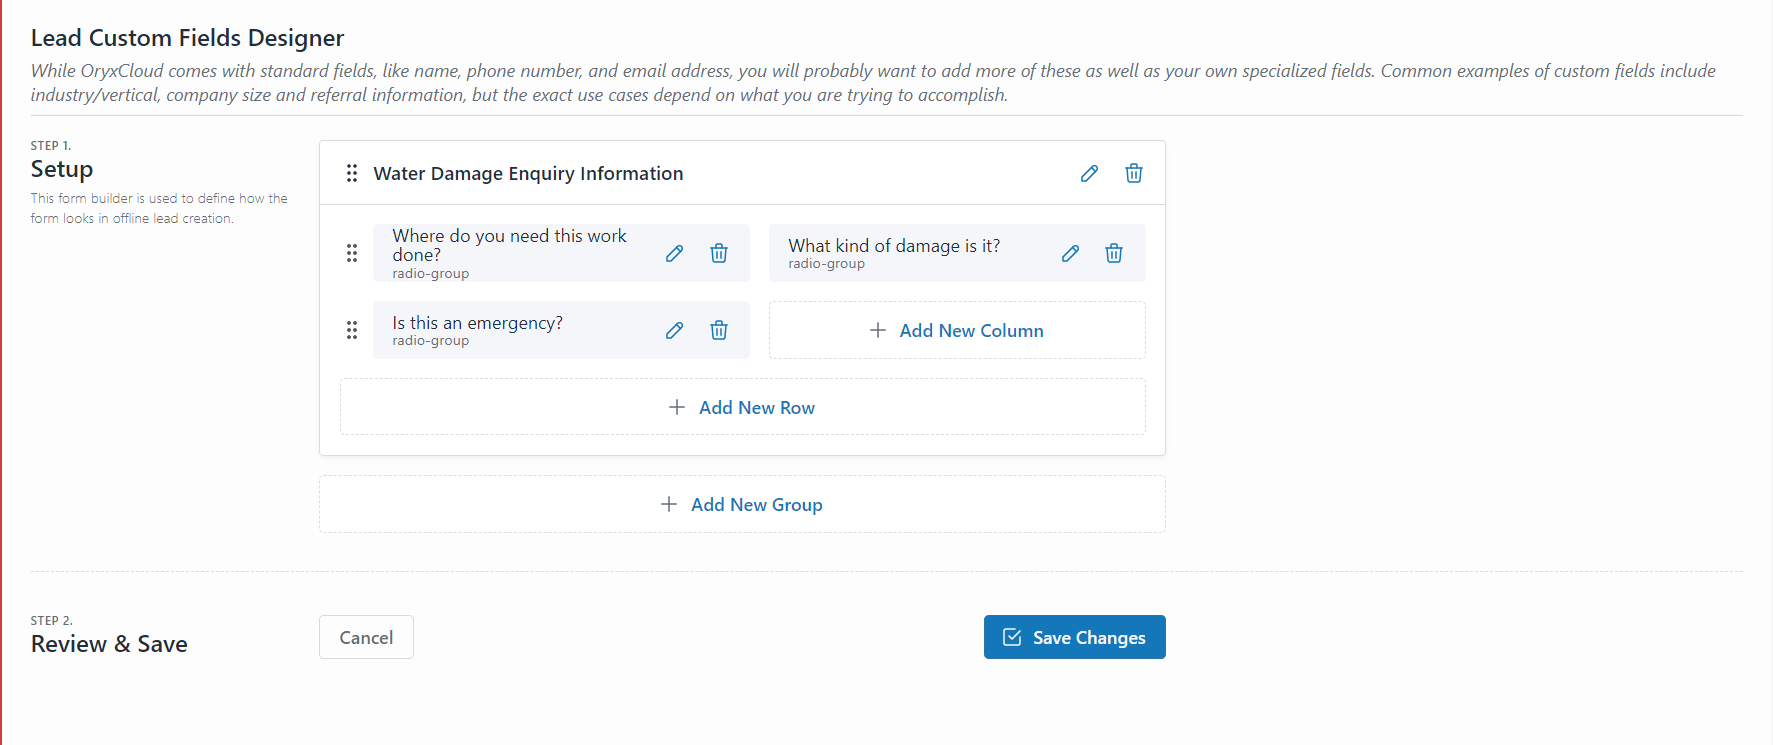
The Lead Custom Fields Designer page is displayed.
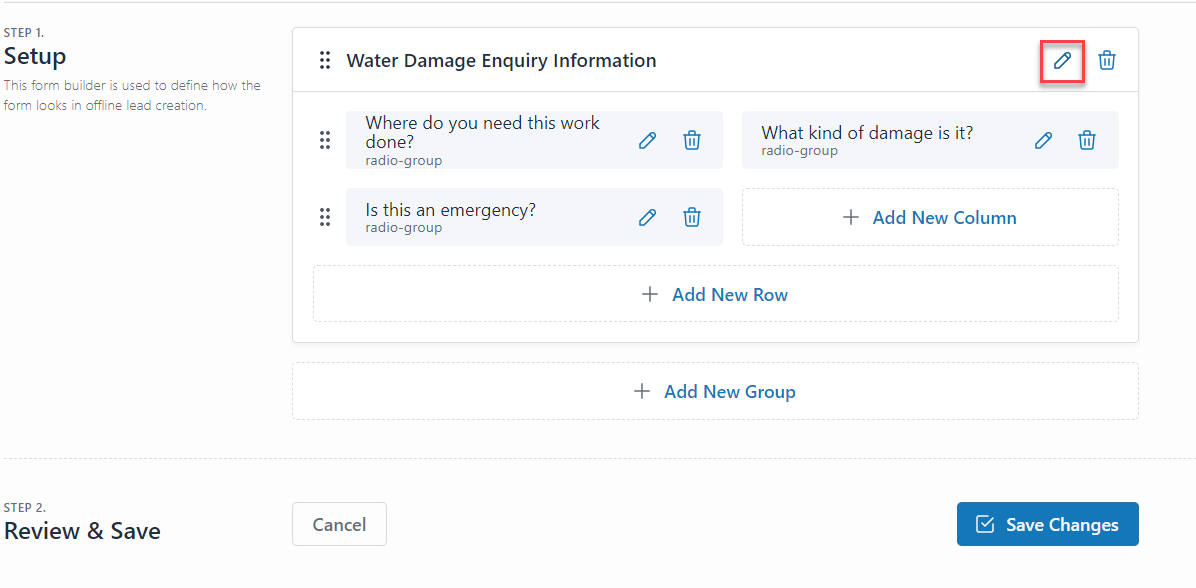
- To modify a group name click on the Edit icon button.
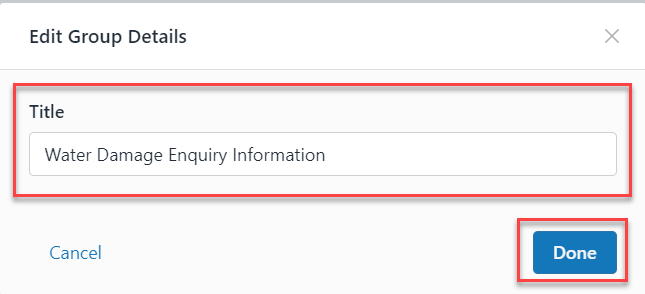
- Edit the title for the group and click on the Done button.
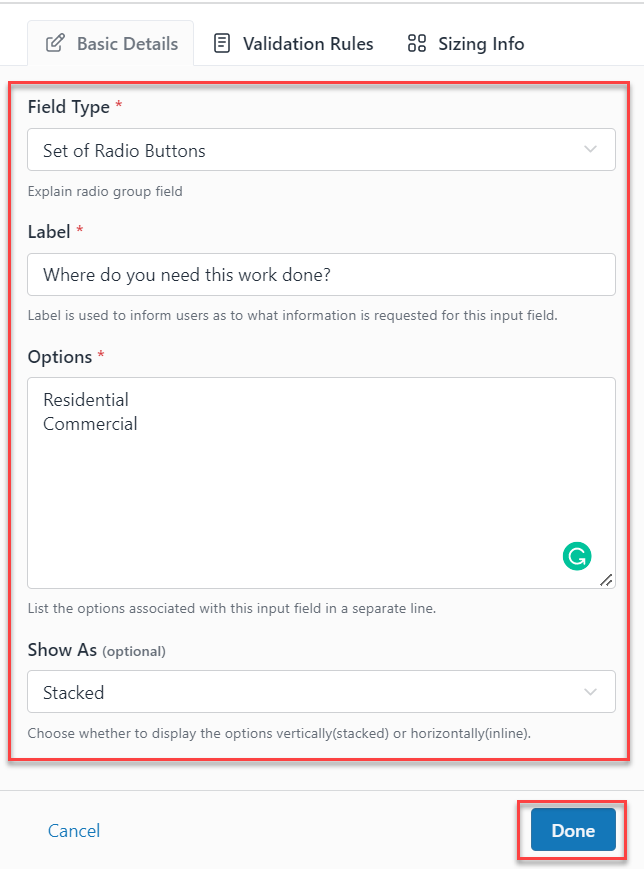
- To edit a row from a group, click on the Edit icon button; do the following
On the Basic Details tab, Field Type, Label, Options, Show As
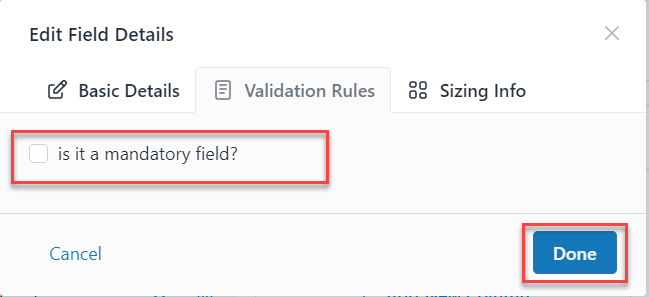
On the Validation Rules tab, check the checkbox if it is a mandatory field.
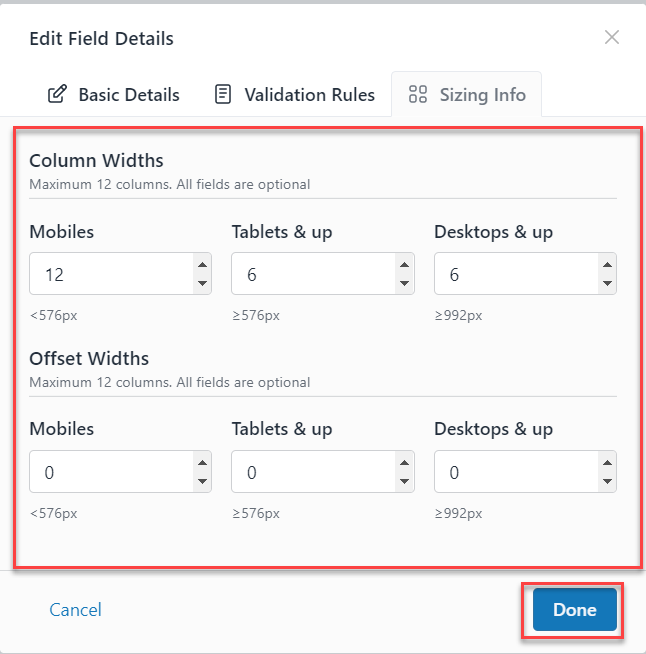
On the Sizing Info tab, you can modify column and offset widths for Mobiles, Tablets, and Desktop.
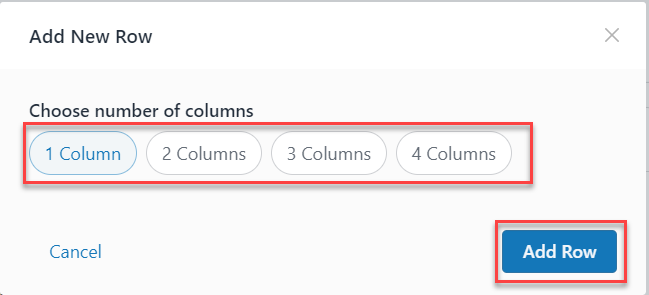
- To add a new column click on the +Add New Column button.
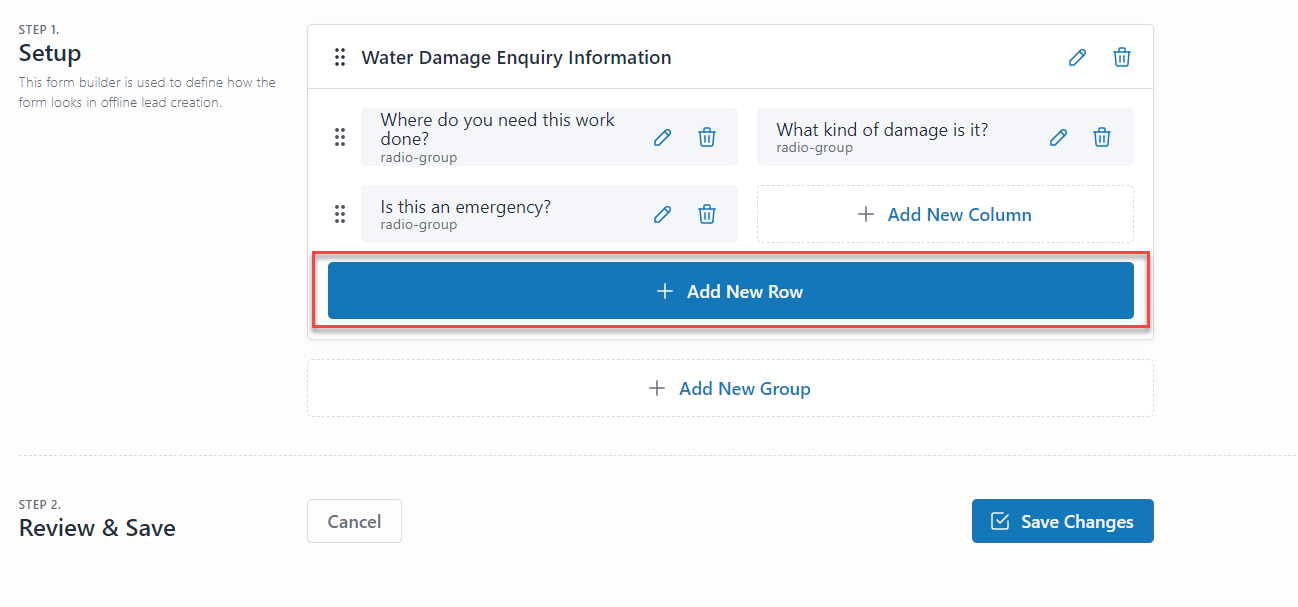
- Choose the number of rows and click on the Add Row button.
- To add a new group click on the +Add New Group button and repeat step 4.
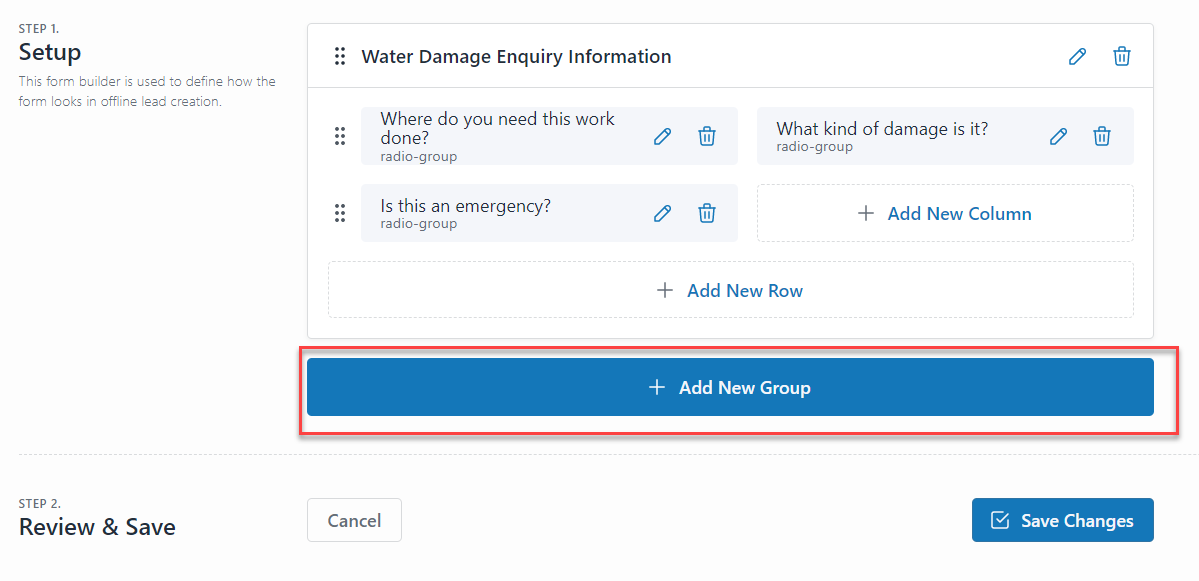
- Click on the Save Changes button.
 If you don’t click the Save Changes button, you will lose all the changes you made. Make sure not to close the Designer page before clicking on the Save Changes button.
Editing a Lead
Now each time to edit a lead, you can fill in the custom fields for that lead.
- On LeadCenter.AI, go to Leads
- Select the lead to manage click Actions and select the required option from the drop-down list.
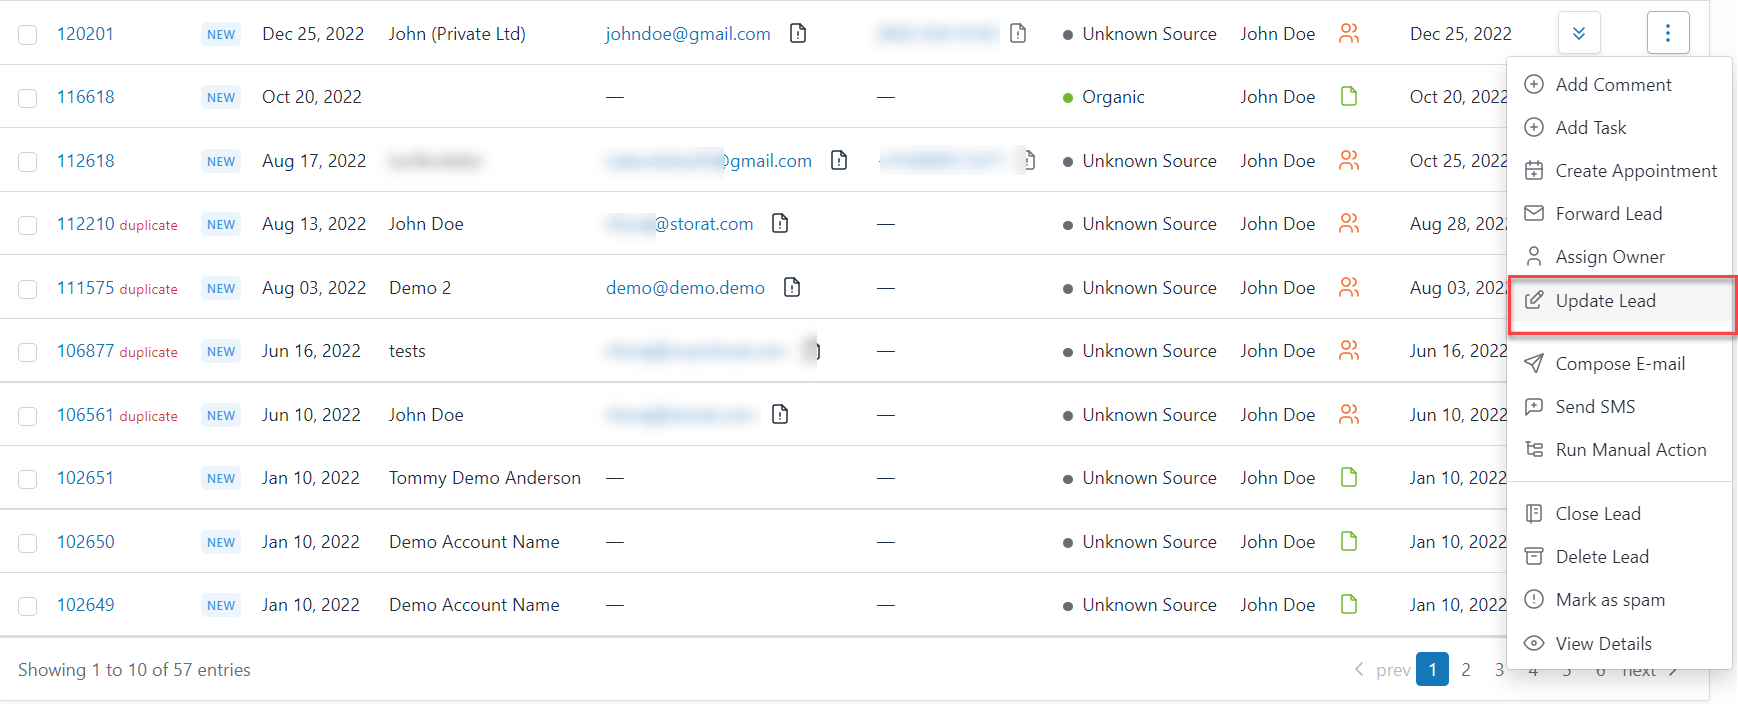 The Update Lead page is displayed.
The new custom field groups will be under the standard fields section.
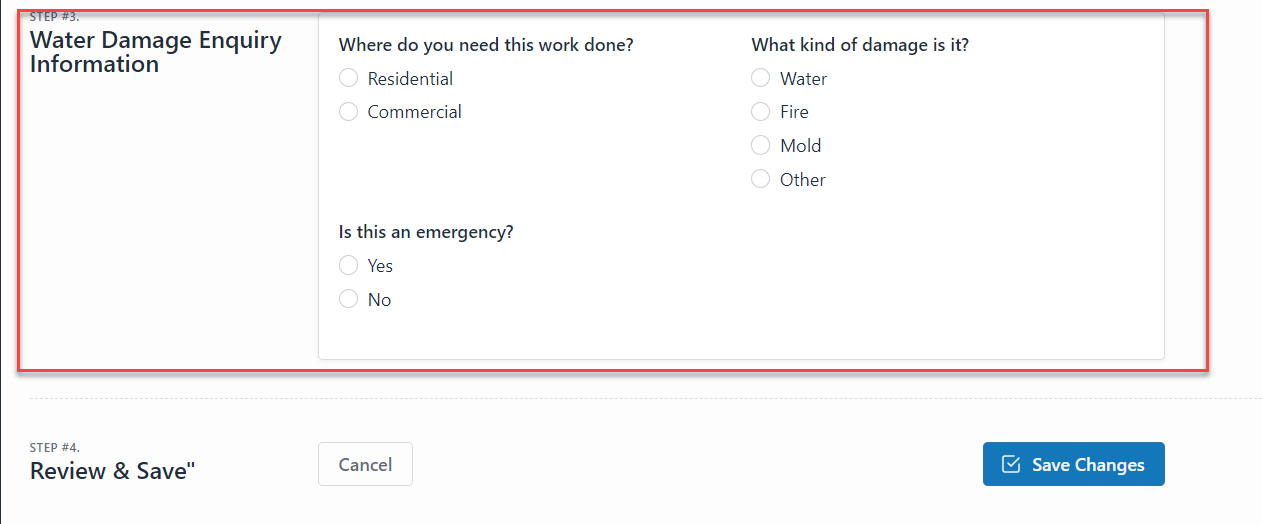
- Edit the changes and click on the Save Changes button.
Custom fields support the following data types
- Text
- Multiline Text
- Dropdown List
- Single Checkbox
- Set of Checkboxes
- Radio Buttons
- Date Picker
- Time Picker
- Integer Number
- Decimal Number
- Currency Number
- Phone Number
- Email
- URL
Data Input can be restricted from the Validation Rules with the following options
- Text only
- Alphabets only
- Alphabets, and digits only
- Alphabets, digits, dashes & underscores only
- Email id only
- Integers only
- Numeric value only
- A regular expression (advanced option).
This section describes setting the lead stages.
There are two stages; open and closed. The Open stage is where the lead has not been closed yet and is still in a progress state. It consists of the New and In Progress stages. On the other hand, the closed stage is when the lead is in the closed state, meaning you have scored the lead, or if you have not scored the lead, it will be displayed in one of the closed states. It consists of the Won, Lost, Disengaged, Duplicate, and Spam stages.
The stages are explained below:
- New: When a new lead arrives, it will be displayed in the New stage.
Note: By default, all new leads will be displayed in the New stage.
- In Progress: After you have contacted the lead and had interactions it will be moved to the In Progress stage.
- Won: Once the lead has signed the contract and has become your customer they will be moved to the Won stage.
- Lost: In situations where you were not able to score a lead and you have lost the lead, it will be displayed in the Lost stage.
- Disengaged: Whenever there is a break or disengagement with your lead, in case he is not responding or replying to your messages, or e-mails those leads are then displayed in the Disengaged stage.
- Duplicate: Duplicate instances are those where there one lead has two records for example; one lead may have two records against one email ID. These instances are displayed in the Duplicate stage.
- Spam: The spam leads will be displayed in the Spam stage.
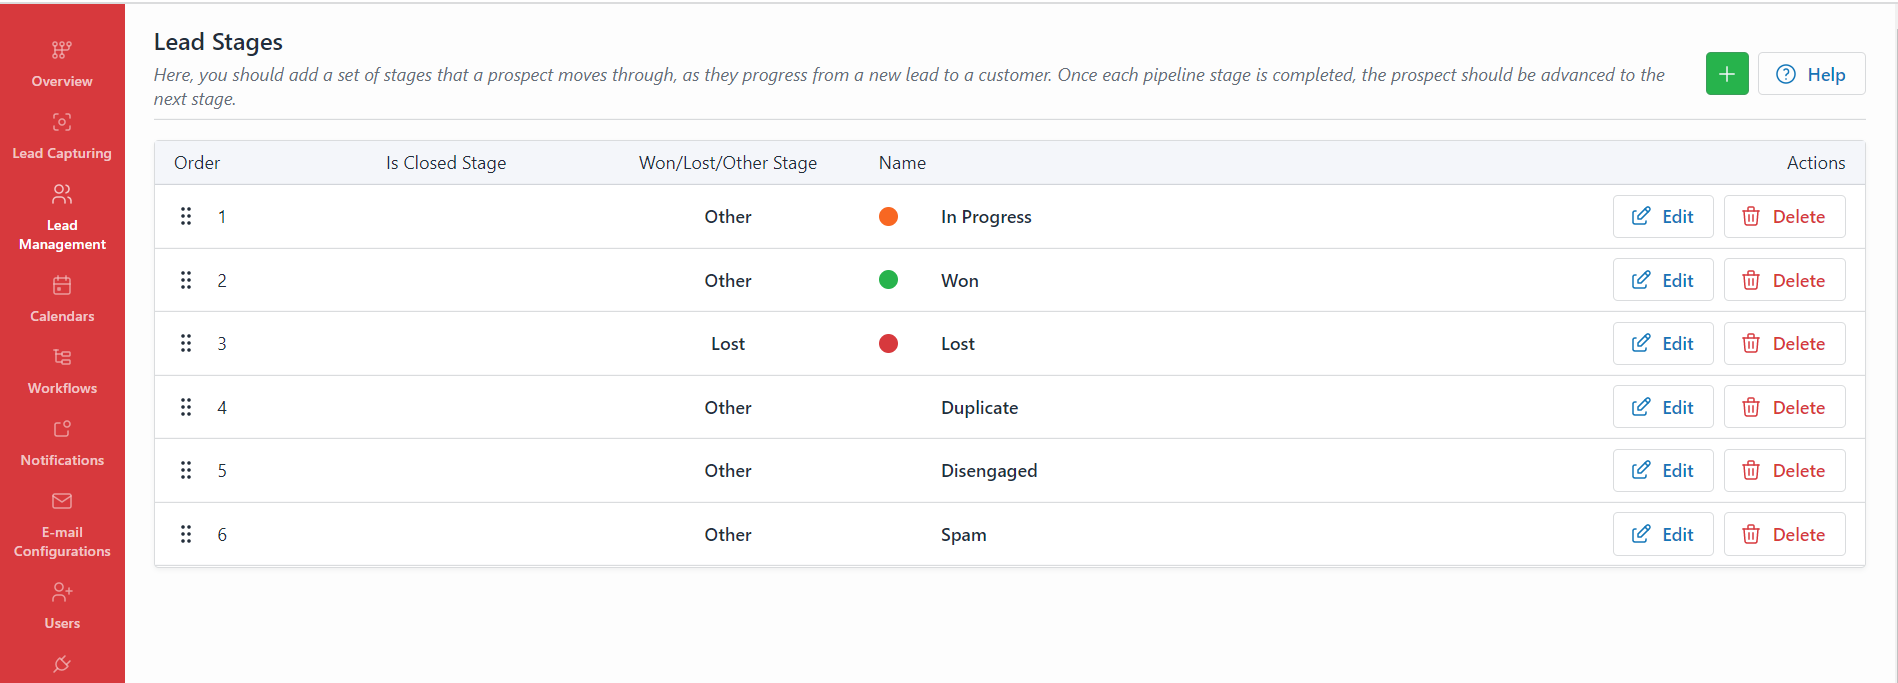
Lead Stages
In the Lead Stages page, you should add a set of stages that a prospect moves through, as they progress from a new lead to a customer. Once each pipeline stage is completed, the prospect should be advanced to the next stage.
Adding a New Stage
By default, the stages which are mentioned above are displayed in the LeadCenter.AI Management System. It allows you to add a new stage according to your requirements to the existing stages.
To add a new stage, do the following:
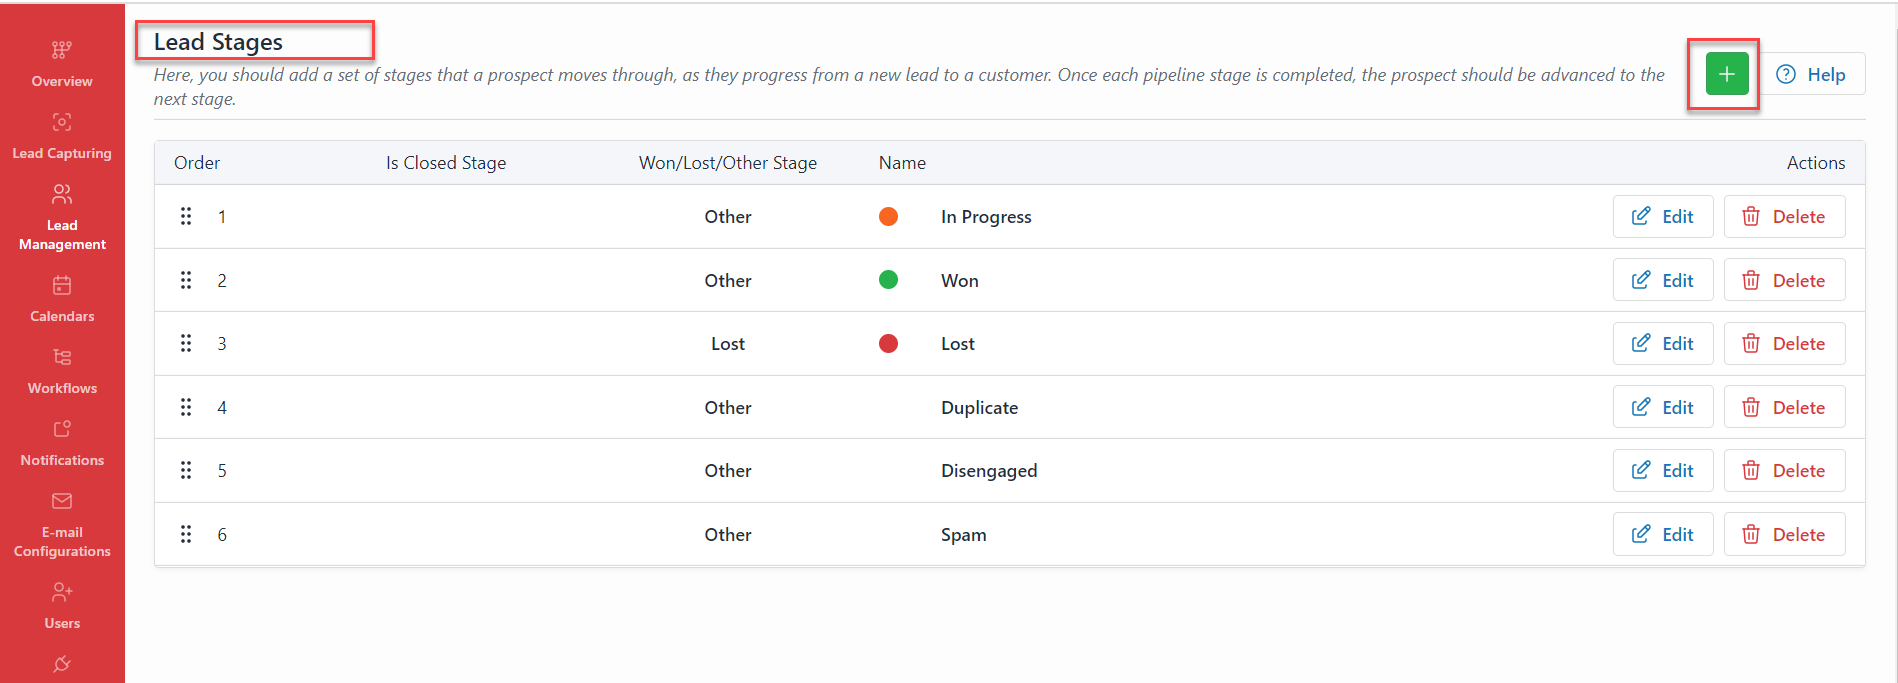
- On the LeadCenter.AI, go to Setup > Lead Management > Stages
- Click on Add icon button to add a new stage.
- Add the following details.
Name: Enter the name of the new stage
Color: Choose the color from the given list
Is Closed State: Slide to the right to mark it as a closed state
Won or Lost Stage: Choose the radio button.
Icons: Choose the icon for the new stage
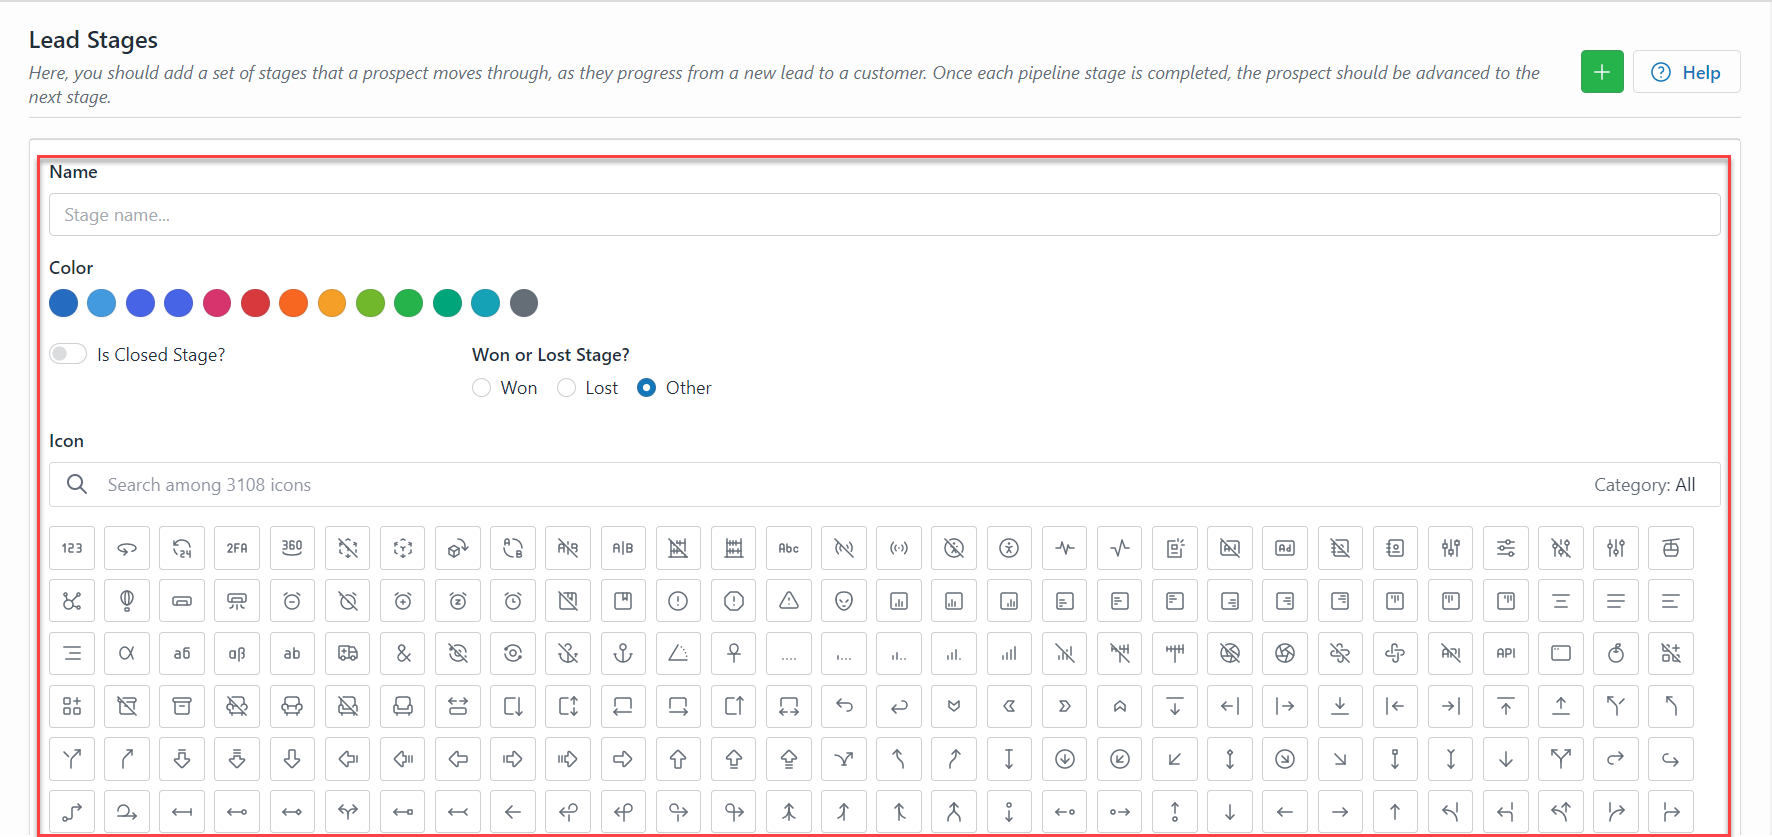
- Click on Add New Stage button to add the new stage.
The new stage will be added to the existing list of stages. You have successfully added the new stage.
Modifying a Stage
To modify a stage, do the following;
- On the LeadCenter.AI, go to Setup > Lead Management > Stages
The Lead Stages page is displayed.
- Select the stage to modify and click on the Edit button
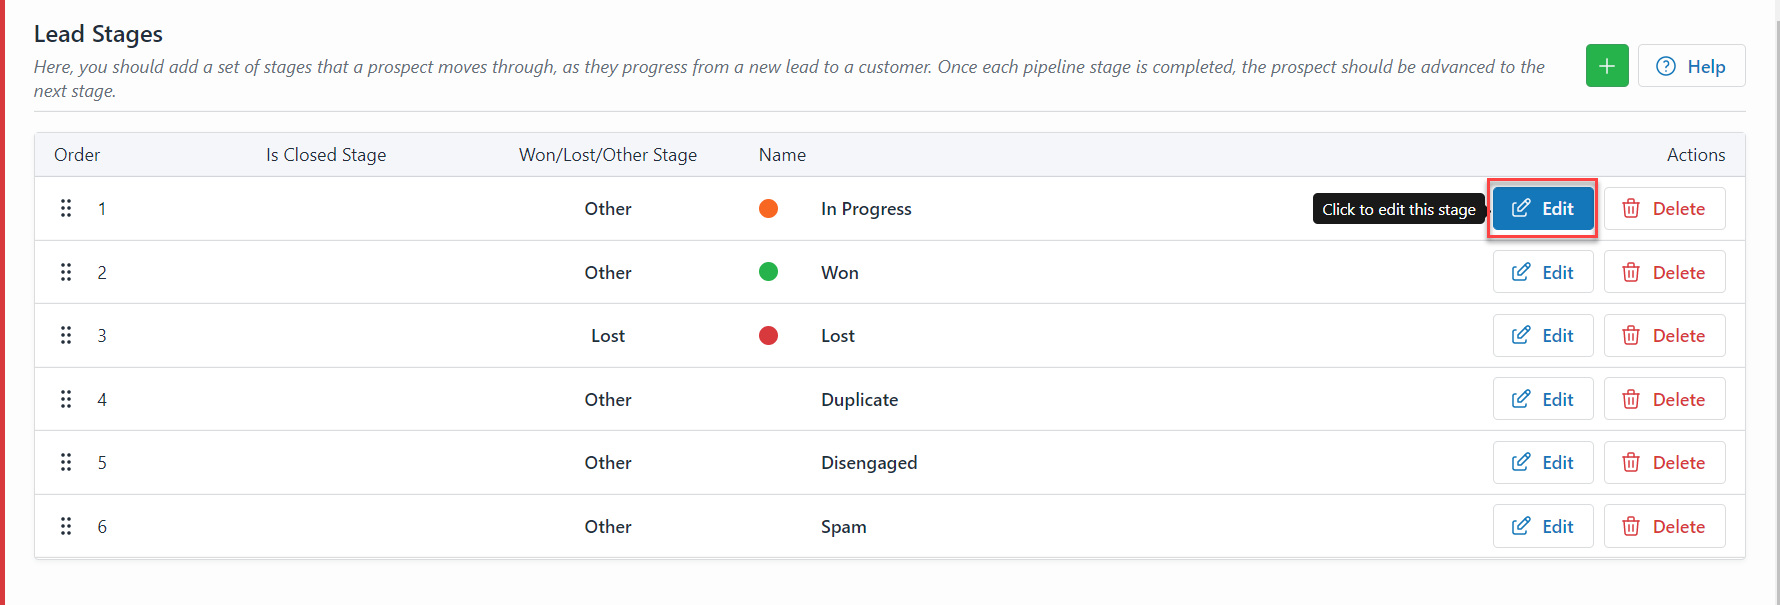
- Modify the stage and click on the Save Changes button
You have successfully modified the stage.
Deleting a Stage
To delete a stage, do the following;
- On the LeadCenter.AI, go to Setup > Lead Management > Stages
The Lead Stages page is displayed.
- Select the stage to delete and click on the Delete button
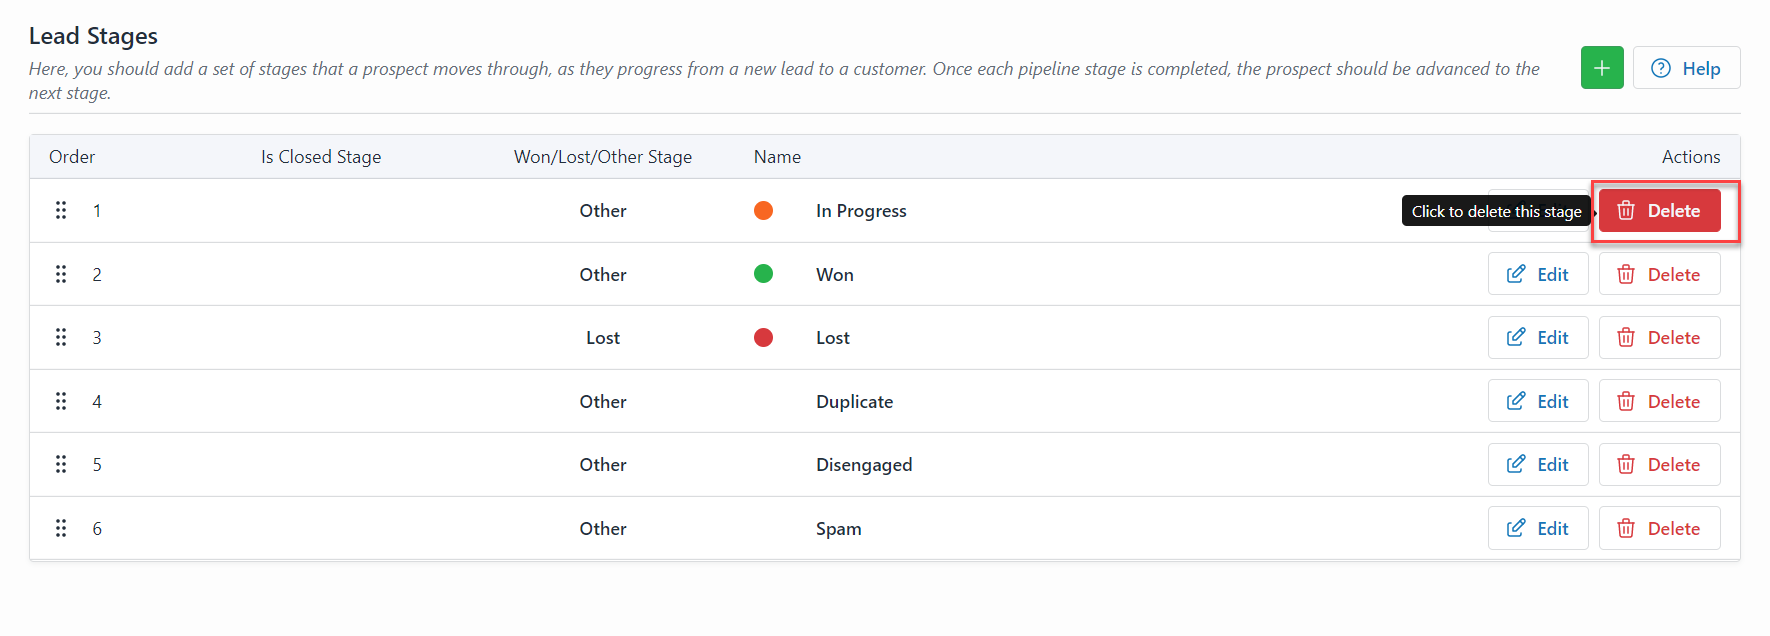
You have successfully deleted the stage.
This section describes setting the category for leads.
A lead category helps you to identify the customer’s interests and the services they want. You can add a new category from the Categories page and specify a category for the lead.
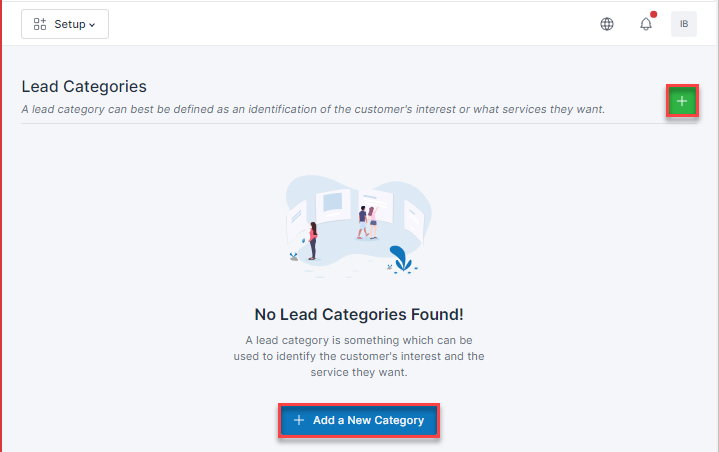
Adding a new category
To add a new category, do the following;
- Go to the LeadCenter.AI Store Manager page
- Click on Setup
The LeadCenter.AI SETUP page is displayed.
- Go to Leads > Category
The Lead Categories page is displayed.
- To add a new category click on
 or
or 
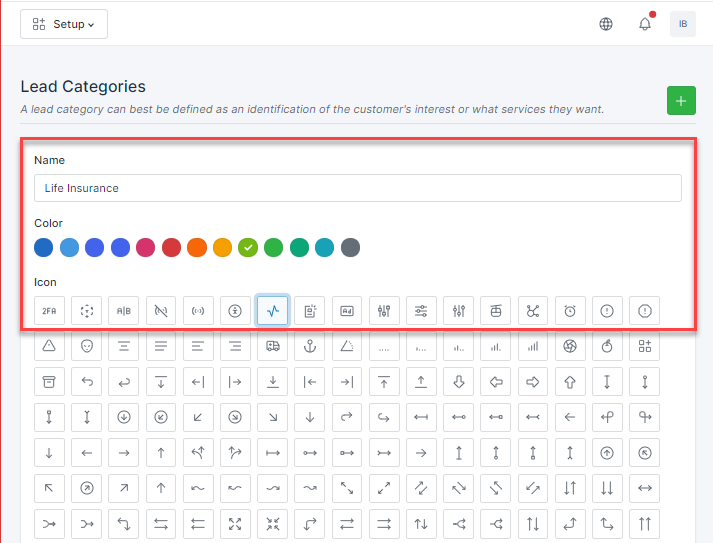
- Enter the Name of the Category, choose the Color, Icon and click

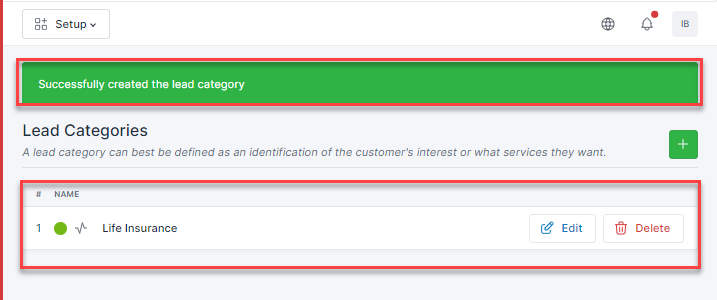
The newly added category is displayed on the Lead Categories page.
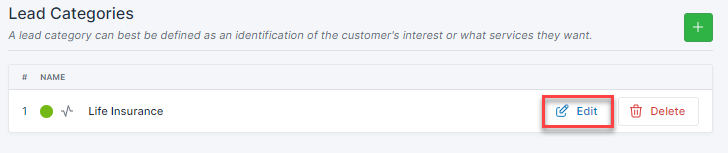
Editing a Category
To edit a category, do the following:
- Select the category to be edited and click

- Edit the category and click
 , after editing the category page.
“Category Edited successfully” message will be displayed.
Deleting a Category
To delete a category, do the following:
- Select the category to be edited and click

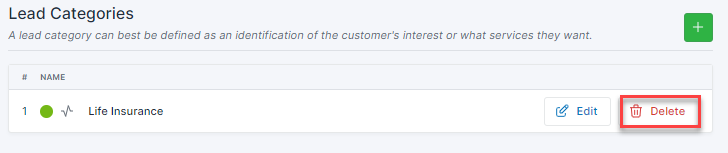
- Click Yes to confirm deleting the category
“Category Deleted successfully” message will be displayed.

