

How Can We Help?
-
Getting Started
-
Managing Users and Notifications
-
Configuring Email Settings
-
Configuring Lead Capturing and Tracking
-
Configuring Lead Management
-
Configuring Lead Engagement with Workflows
-
Daily Management of Leads and Sales Engagement
-
Using LeadCenter.AI for Marketing
-
Building Forms
-
Getting Started
- Introduction to LeadCenter.ai Website Builder
- Domain Setup and DNS Records for your Website
- Website Themes: How to change your website template
- Customizing Website Header and Footer
- Website Pages: Adding and Deleting Pages to Your Website
- Menus: Adding, Deleting, and Organizing Menu Items in your Website
- Blog List: Manage Blog and Articles in Website
- Creating Landing Pages without Website Header and Footer
-
Page Designer Tool
-
Advanced Styling, Coloring, and Typography
-
Advanced Coding for Developers
-
Configuring Calendars and Appointments
-
Integration with Zapier to push leads to other CRM using Zapier
-
Integration with Redtail
Print
Posted
To push leads through Zapier, do the following:
- Configure Zapier. See Integration with Zapier to push leads to other CRM using Zapier.
- In the Actions operation, Choose and enter an app (For example; Gmail)
For example; if want to push the lead to Gmail.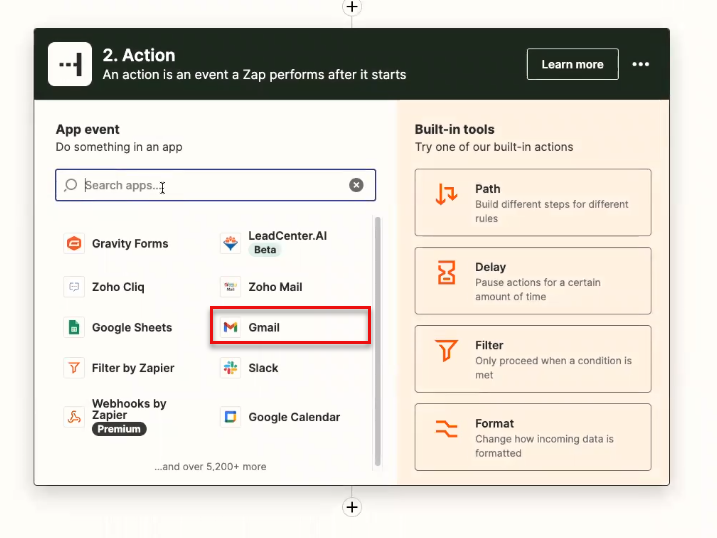
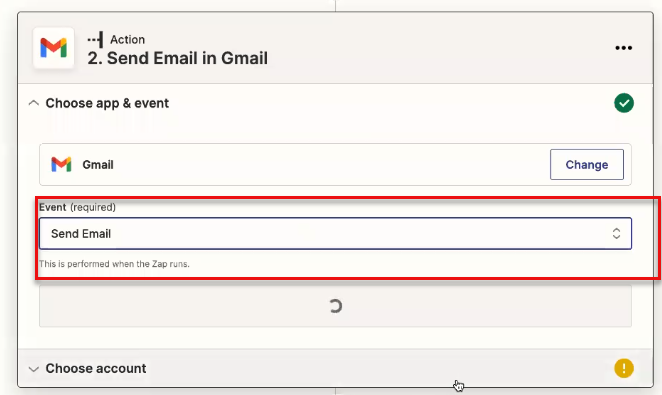
- Enter an event, that will be performed when the Zap runs
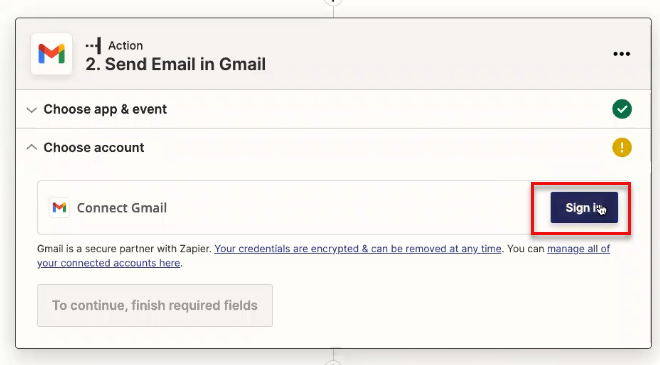
- Connect to your Gmail to Sign In to your Google account and click Continue.
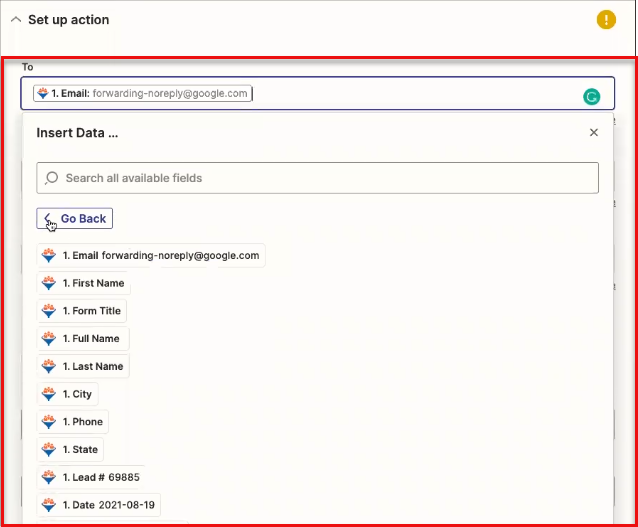
- In the Set Up Action, map the required fields to prepare the email body and click Continue.
- Click Test & Continue button OR Skip Test button.
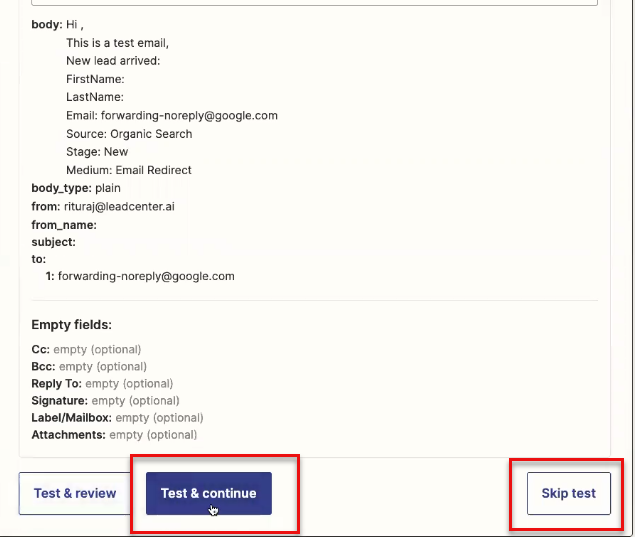
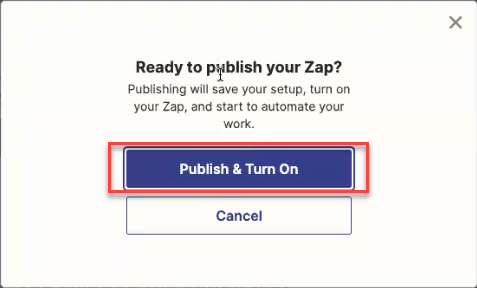
- To publish Zap, click on Publish Zap > Publish & Turn On button.
The Zap will be published.
The Email Format in Zap: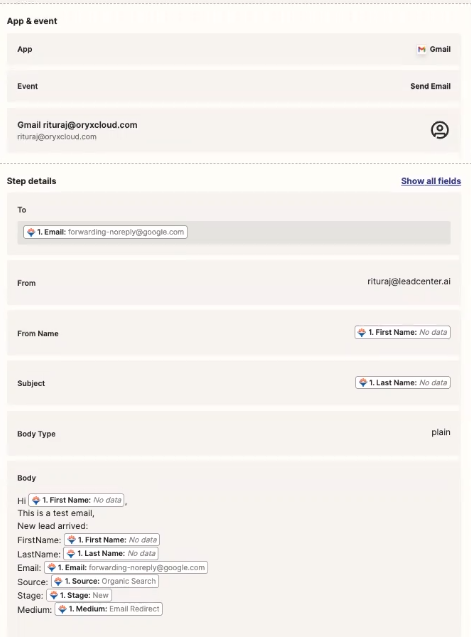
The Email format(When a new lead is created an email will be received in your configured Gmail account) in the below format: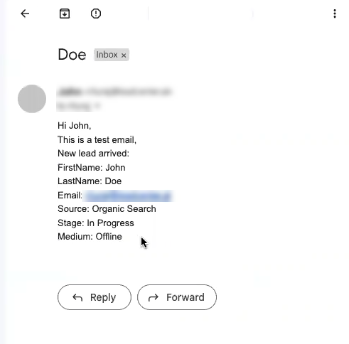
You have successfully pushed leads to Zapier.
Table of Contents